A good manicure is a combination of good artwork and choosing the right nail shape that complements your hands. Ballerina nails, one of the biggest nail trends these days, offer just that. They’re nails that complement any nail art design while making hands look longer and more slender.
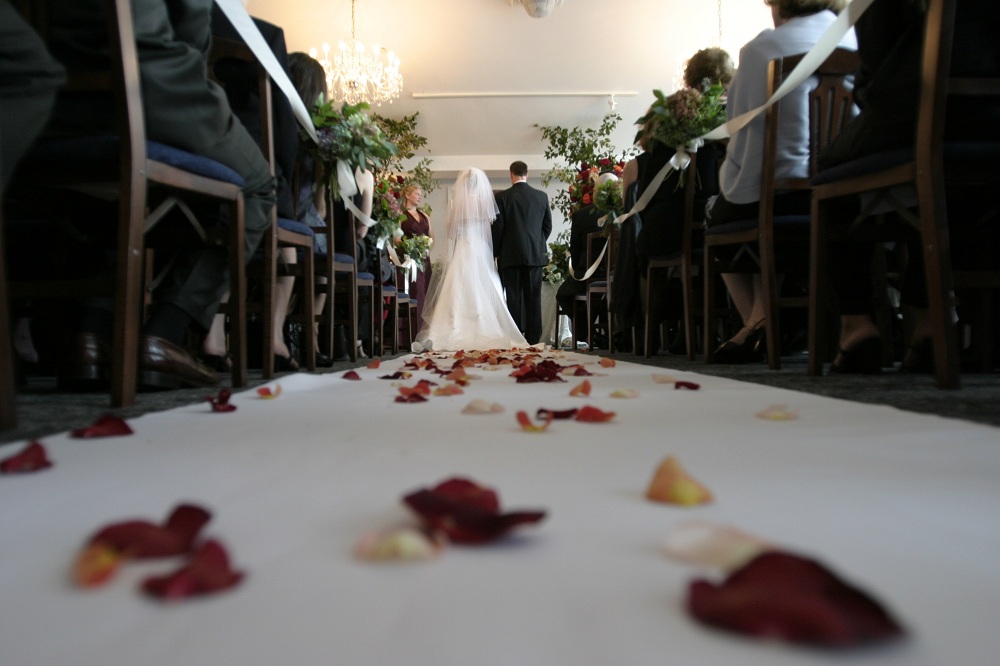
This nail design is very versatile as it can be worn as an everyday nail look or even as a look for weddings, whether you’re the bride or a guest.
If you’re thinking of changing up your nail shape but at a loss as to which direction to go, then you might want to look into ballerina nails for a change.
- What Do Ballerina Nails Look Like?
- DIY Ballerina Nails (Coffin Nails)
- How to Properly Shape or File Ballerina Nails?
- What Colors Go Best with Ballerina Nails?
- Rainbow Inspired Long Ballerina Nails
- Matte Ballerina Nails
- What is the Difference Between Coffin Nails and Ballerina nails?
- Who Should Wear Ballerina Nails?
- Can Real Nails Be Shaped into Ballerina or Coffin Nails?
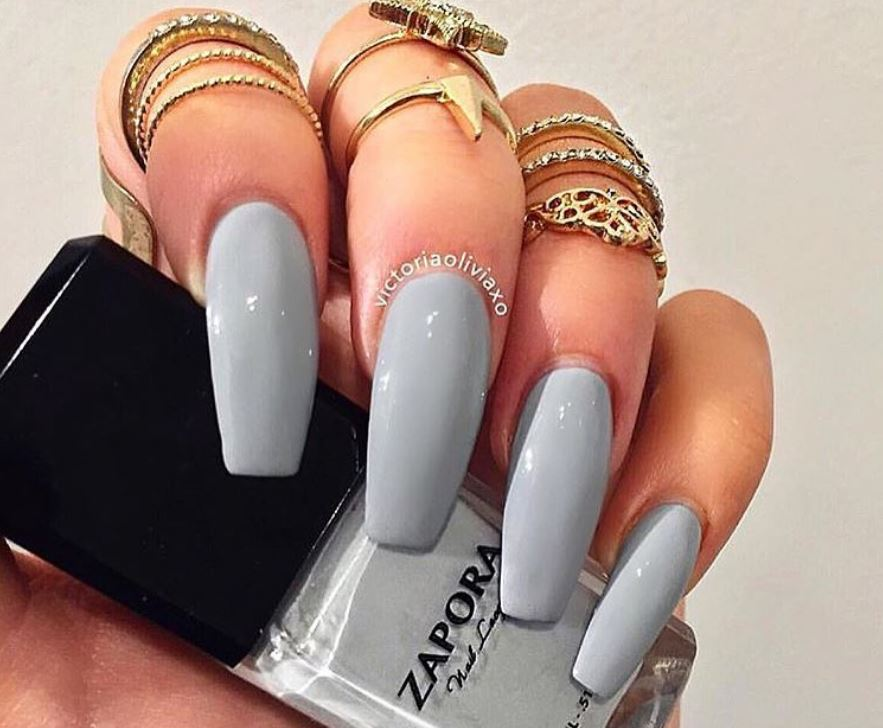
What Do Ballerina Nails Look Like?
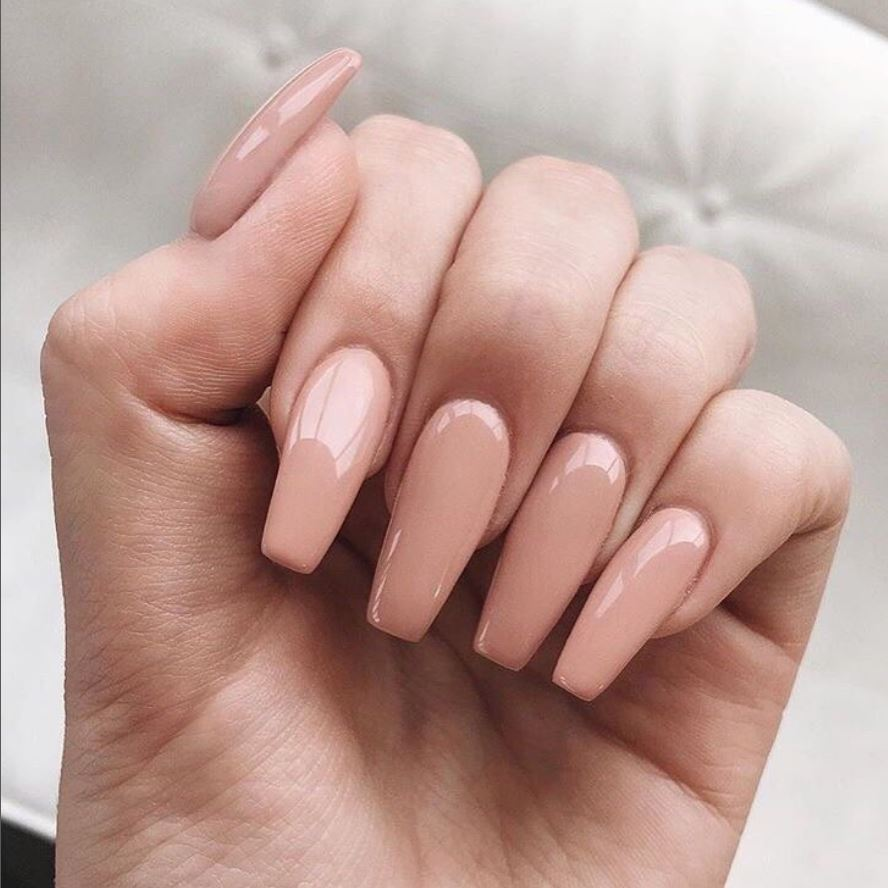
Ballerina nails, also known as coffin nails, are a kind of nail design that is long, tapered but with a square tip and filed flat at the end instead of pointy or curved. It acquired the name “ballerina” as the edges are flat yet the shape of the entire nail remains tapered.
Some might say it’s similar to almond nails minus the pointy edges. So, if you’re worried about having pointy nails poking your eyes, then ballerina nails might just be the design for you.
DIY Ballerina Nails (Coffin Nails)
Though ballerina nails might look complicated, they are actually very possible to create at home. Start off with the classic square nails. Normally, this design is worn with long nails, but you can also go for a shorter one if you like.
For ballerina nails, the sides of the nails are first filed flat. Be careful not to smooth it out to create rounded edges. Ballerina nails are known for the concise lines so avoid buffering too much. Once the sides are filed, proceed to file the tip of the nails flat.
So, here’s what you need to do:
- Start with square nails.
- File the sides straight.
- Slightly taper the last part (about ⅓ of the nail) of the nail.
- File the tip flat.
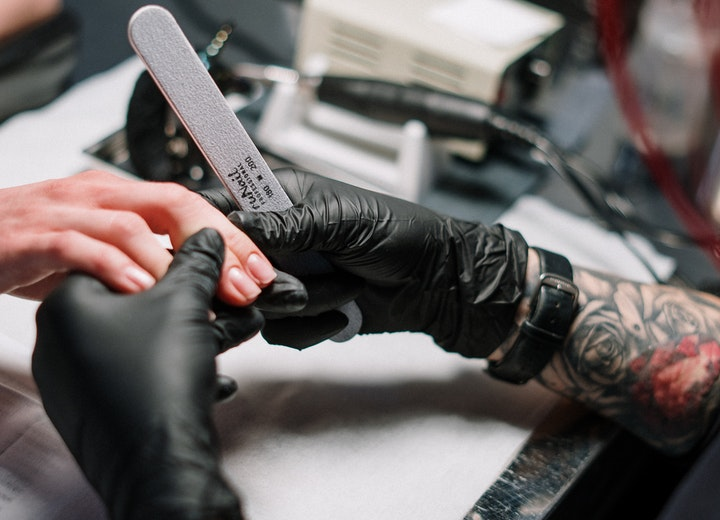
How to Properly Shape or File Ballerina Nails?
What you’ll need:
- A pair of scissors
- Nail filer
Directions:
Start off by trimming the sides of the nails with a pair of scissors. It doesn’t have to be perfect because you’re going to hand-file them later.
Next, grab your nail filer and very firmly, file the nail, creating a coffin shape or if it’s easier for you to imagine, the shape of a ballerina’s shoes. You can achieve this by filing the sides of the nail at a slanted angle, not a straight one. Make sure that you’re doing a perfect shape so as not to redo it once you apply the nail polish.
Note that you shouldn’t curve the edges as you file closer to the tip. Unless you’re going for a curved look, the nail should look narrow the closer it gets to the tip but the edges should be pointed.
A little reminder, never file your nails when they’re wet as it can make them prone to breakage. Always make sure that you’re working with dry nails.
What Colors Go Best with Ballerina Nails?
Any color and design can go well with ballerina or coffin nails. Muted and soft nude shades of beige to cream or pink will look particularly well as these colors will also elongate your fingers.
Nude shades and muted tones also look elegant. You can see Duchess Kate Middleton wearing these colors on her nails on many occasions. Of course, as the name suggests, all colors that remind you of ballet would go exceptionally well with ballerina nails or coffin nails. While you can wear ballerina nails with any color, design, or pattern, the muted and nude shades are perfect for everyday use.
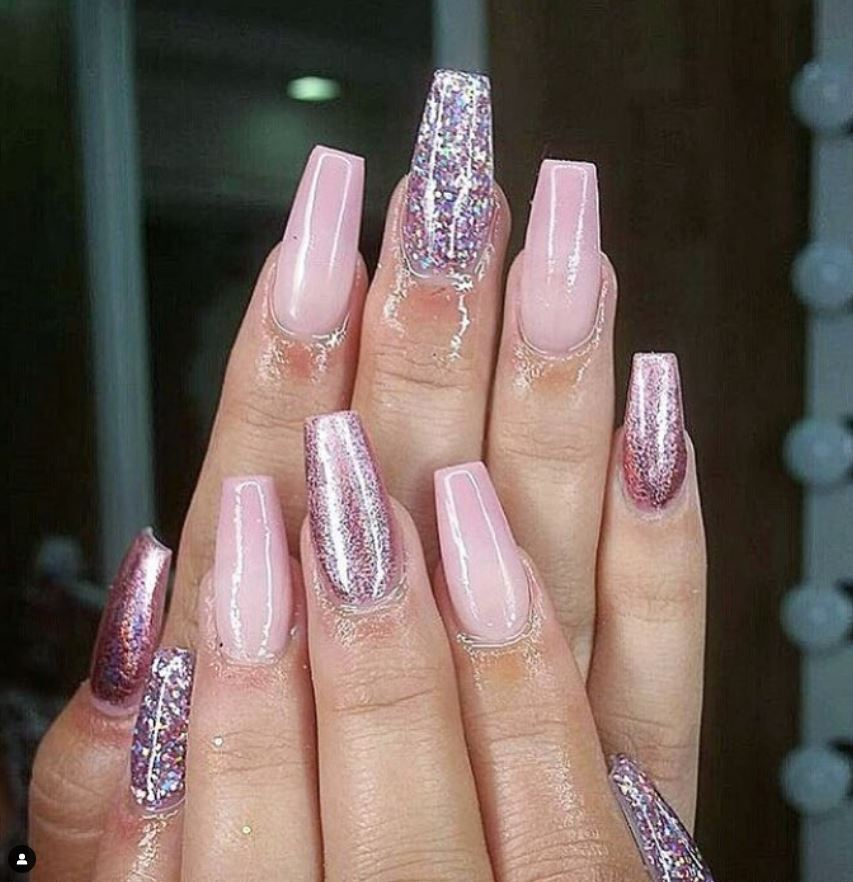
Glittery Ballerina Nails
Glittery nail polish is one of the nail trends that will never go out of style. While you can get a professional to do your nails for you, you can also achieve glittery nails at home.
For this technique, what you want is to completely cover your nails with glitters. This will make it look more complete and will suit special occasions the most.
Here’s what you’ll need:
- Nail polish
- Base coat
- Top coat
- Loose glitter
You want to make sure that your nails are filed to look like the perfect ballerina nails. Also, you should put down a mat on your work area. This will make it easy for you to clean up any loose glitter and put it back into the pot.
Here’s how you can create glittery ballerina nails:
- Coat your entire nail with the base coat.
- Dip your nail into the pot of glitter. Lay the flat area over the glitter and roll it side to side until the entire area is covered.
- Remove any extra glitter by gently tapping your finger.
- If there’s an uneven part, gently press it with your finger.
- Wipe off any excess glitter with a soft brush.
- Repeat these steps with the rest of your nails.
- Polish each nail off with a top coat to ensure that the glitters are sealed in well. This will also give you a smoother texture.
Ombre Ballerina Nails
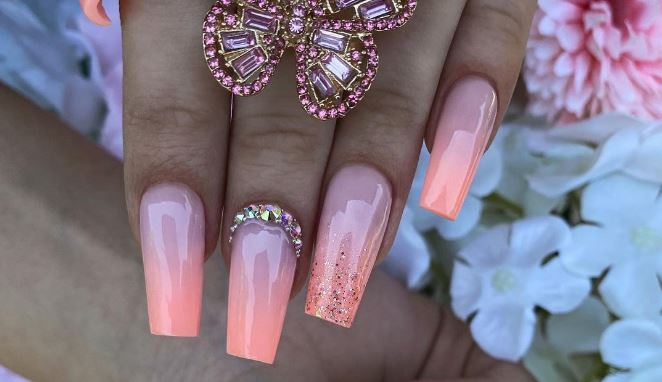
The Ombre nail art is similar to a gradient nail but with different colors. Done right and you’ll have the prettiest ballerina nails suitable for any occasion.
Here’s how you can create this look at home.
What you’ll need:
- Nail polish
- Make-up sponge
- Nail polish removes
- Cotton buds or q-tip
Directions:
- Set up the base by painting your nails with white color polish. Any nude nail polish would be fine too. However, white will make any color look vibrant and colors will blend much better on top of a white coat.
- Dry your nails.
- Grab your makeup sponge and paint your desired colors onto the sponge. Note that the two colors should overlap each other in the middle. This will ensure that there are no gaps in between.
- Align the applicator to your nail, and carefully dab it on your nail. Make sure that the whole area is completely colored. Don’t think about being perfect or avoiding the mess as you can correct these imperfections later on.
- Quickly apply a top coat to smooth out the colors.
- Make sure to add more nail polish as you do each nail. You can also change your sponge if you feel like a cleaner one will do a better job.
- Clean up any imperfections by dipping a Q-tip into a nail polish remover and then dabbing it around your nails.
Rainbow Inspired Long Ballerina Nails
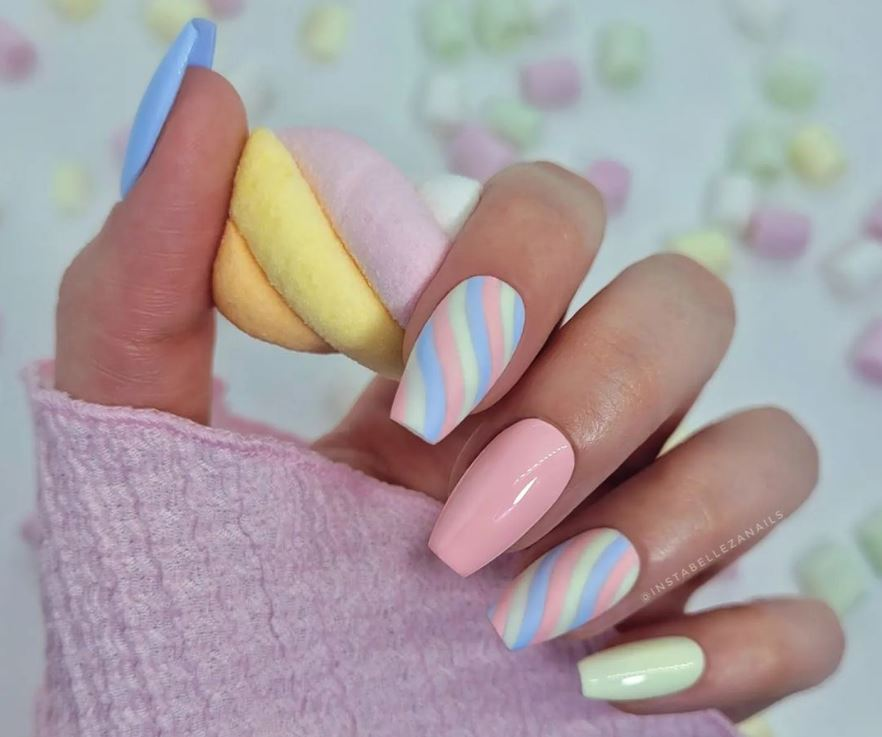
When it comes to DIY nail art, then rainbow nails are one of the most popular ones around.
They’re fun and it’s a design that gives off the perfect summer vibe. Done right, they can look chic and stylish too. Note that there isn’t one way to wear rainbow nails. You can have the design on all of your fingernails or you can choose to have the rainbow pattern on just one or two fingers.
You may keep the original color in a rainbow, use just your favorite colors or even use a more abstract method of mixing and matching the colors you prefer.
So, here’s how you can create beautiful rainbow nails:
- Apply a base coat to your nails
- Wait for the base coat to dry.
- Apply 2 thin layers of transparent nail polish and wait for it to dry before proceeding to the next step.
- With a nail art brush or any brush that will create clean thin strokes, paint your nails starting from the corner of your nail tip
- Let the color dry first before applying the next color to prevent smudging.
- Apply a layer of topcoat and dry your nails.
- Use a Q-tip dipped in nail polish remover to clean the surrounding area of the nail or correct any mistakes.
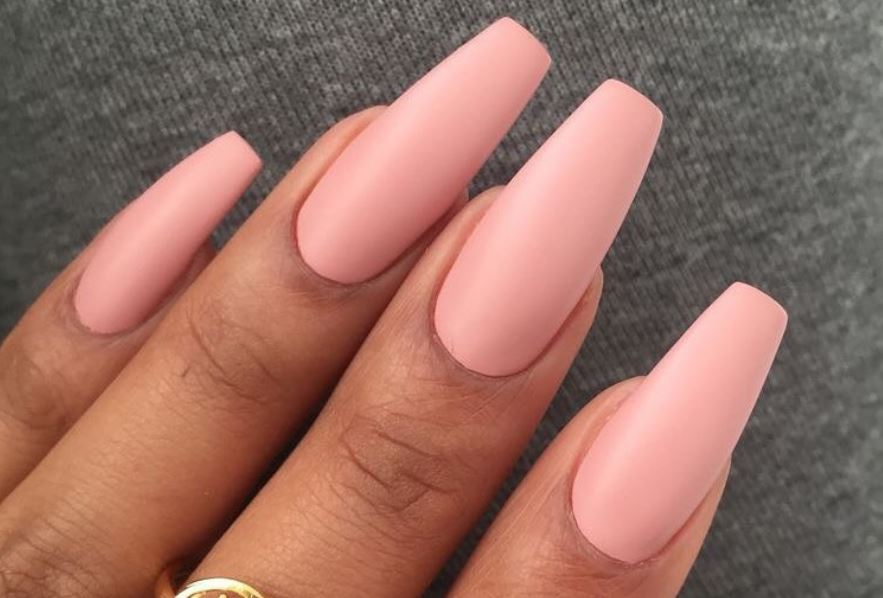
Matte Ballerina Nails
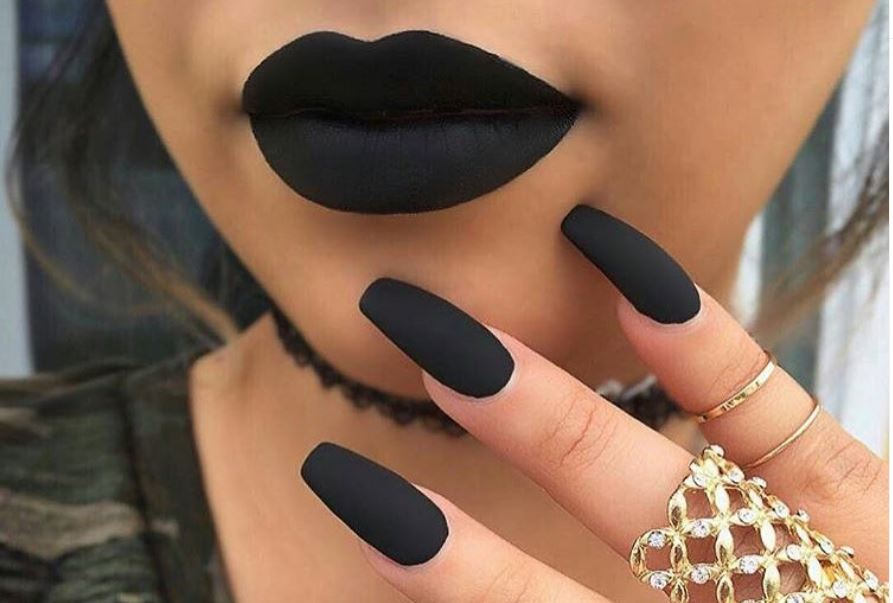
If you want an elegant yet mysterious look, then matte ballerina nails would be an excellent choice. The matte look is always a hot trend as it looks sophisticated and chic at the same time. However, not everyone can perfect the look. Here’s how you can do this nail art at home.
What you’ll need:
- Base coat
- Nail polish
- Cornstarch
- Sifter
- A flat container (plate) where you can mix your polish and baking powder
- Stirring stick
How to create matte ballerina nails:
- Sift 1/2 tablespoon of cornstarch. This is enough for one hand. If you see any clumps, break them as they will ruin the texture of your nail polish.
- Get your flat container and put a portion of the cornstarch on the side.
- Get your nail polish and pour enough nail polish for one or two nails into the container. Be careful not to mix the nail polish with the cornstarch yet.
- With your stirring stick, get a small portion of cornstarch and mix it with the nail polish.
- Once you have mixed the appropriate amount of cornstarch, do a test run on your nail.
- Wait for a minute until you see it go completely matte.
- Once you’re satisfied with your test run, go ahead and paint your nails.
- Repeat steps 2-4 once you see that the nail polish on the container has dried up.
What is the Difference Between Coffin Nails and Ballerina nails?
There isn’t really a difference between a coffin nail shape and a ballerina nail shape as most people use it interchangeably. They are both rectangular shapes that are both slightly tapered and filed flat at the tip[. However, coffin nails are considered less narrow than a ballerina nail, but again, that’s a difference that isn’t very obvious.
Who Should Wear Ballerina Nails?
The ballerina nail shape is the perfect combination of femininity and edginess. Anybody can wear it as it’s flattering for all hand shapes.
It would suit people with wider palms and shorter fingers as it would make your hands look slimmer and longer. On the other hand, the ballerina nail shape also enhances long fingers and balances a square palm.
However, if you have weak nails or your nails break regularly, then you have to avoid this nail shape or wear a shorter version of it if you don’t like wearing fake nails. You should also avoid long nails if you work with your hands all the time.
Can Real Nails Be Shaped into Ballerina or Coffin Nails?
Yes, you can shape your natural nails and turn them into ballerina nails. However, you have to make sure that they’re strong and healthy.
Nail maintenance doesn’t just show that you have good hygiene, it also reflects youthfulness, in a way. It shows how much you take care of yourself as well as your personality.
Here are some tips on how to keep your fingernails healthy and looking their best:
- Practice good nail habits. Never use dull scissors or clippers when cutting your nails. Trim your nails straight before going for the edges.
- Always keep fingernails clean and dry. Bacteria can grow underneath your nails so you always have to make sure that your nails are dry and clean. Wear gloves when cleaning the house or doing chores like washing the dishes. Make sure that your hands are protected whenever you’re about to make prolonged contact with water.
- Moisturize daily. Even your nails need to be moisturized. Make sure to rub lotion into your nails and cuticles as well.
- Consult your doctor about biotin. Biotin or vitamin B7 helps boost your immune system as well as repair tissues and muscles. If you have brittle or weak nails, then ask your doctor if you could take biotin as a nutritional supplement.
- Avoid using harsh chemicals on your nails. Don’t use nail polish removers too much or choose ones that have an acetone-free formula.
- Don’t bite your fingernails. Nail-biting is a bad habit that could damage the nail bed. Also, even a minor cut can cause infection to set in. So avoid biting your nails or even picking at your cuticles.