The simple way of laying sod to your dead and barren garden will instantly level up the curb appeal of your garden. This is why more and more homeowners are interested in making this project in order to bring a new life to their lawn.
However, prior to plotting the sod to your lawn, there are preparations you must do to achieve a lush and healthy yard. This is to ensure you will get the result you wanted for the project. A company supplying sod of all types in Utah provides a checklist on how you could prep up your soil for it.
1. Sample the soil
Before adding or clearing the soil, the very first thing you have to do is to sample it. Testing your soil is necessary to figure out what substance you need to add.
This is to help ready your garden so that the sod will remain healthy as it grows. The process may take 3–4 weeks in order to determine if the soil is suitable for plotting, so it’s best to hold off yourself into buying sods.
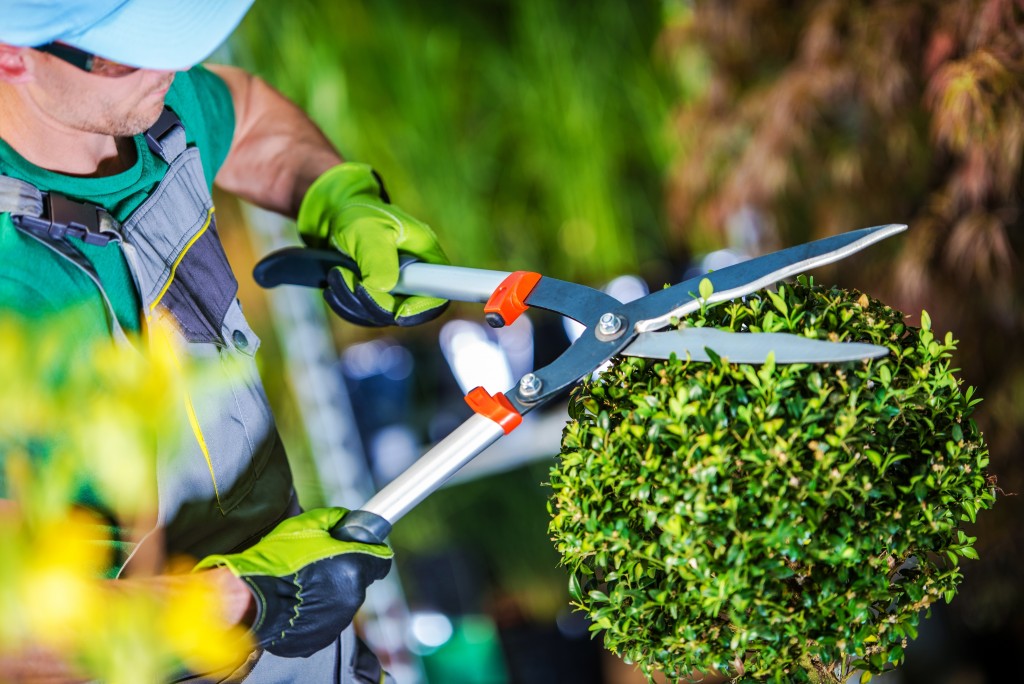
2. Clear the ground
Remove weed and any form of debris that might deter the growth of the sod. Rake it twice or thrice to ensure that there is no object that can get in the way of your sod. To ensure there’ll be no possibility of weed growth, it’s best to spray herbicide to kill off unwanted weeds and grass.
For this, it’s best to consult a local gardener for the most effective and less damaging solution. Read through the directions carefully. Be sure to follow it exactly to avoid any troubles as start laying the sod.
3. Even out the soil


Once you’re done removing the debris and herbicide application, the next step would be grading and flattening the soil. Make sure that every spot is level evenly. If there are high mounds or elevated portion, you may use rake or shovel to break it apart and spread up the remaining soil around the area.
For the grading, it’s important to slope the soil away from any nearby building structure. This is to keep the water away from these surfaces and prevent pooling next to them.
For smaller areas, you could work with iron rake or shovel. However, if there is a bigger area to cover a tractor might be needed to grade the soil properly.
4. Till and fertilize
In relation to sampling the soil, adding needed nutrients on it is necessary. This is where fertilizing comes in. Prior to fertilizing, it’s important that the topsoil is added on top; this is to make it healthier.
Once done, the next thing to do is to till the above surface so that roots can attach much easier. You may use a rototiller or manually do the tilling whichever works for you. Wait for a few more days so that the soil can fully absorb the fertilizer you’ve added.
5. Water the soil
Now that the ground is all set be sure that you’ve given the soil enough water so the sod will attach properly to it. Keep the surface damp, not soaked. Otherwise, the soil may harden, and the sod may have a hard time growing or attaching itself to your ground.
Get ready to pimp up your garden by laying sod on the ground. You might notice that a lot of preparation is needed before the actual plotting, but all of these will be worth it once you see the result. If it gets too hard for you to handle, seeking some help wouldn’t hurt so feel free to do so.